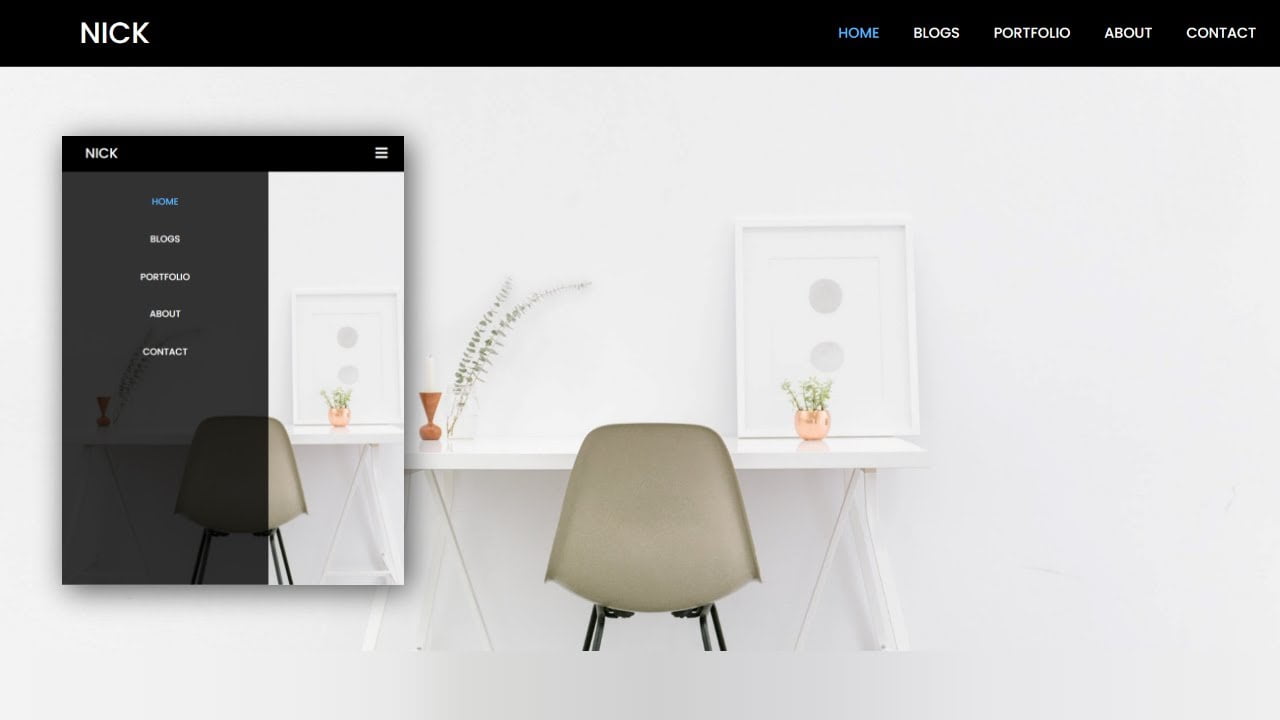
Hey friends, today in this blog you’ll learn How To Create Responsive Login Form Using Html Css Only . We’ll use HTML and CSS to create this awesome Responsive Login Form . Earlier I’ve shared a blog on Home Page With Image Gallery Website Using Html Css Js Bootstrap4 .
This Login Form are fully responsive for all devices. I have also created a full video tutorial of this Responsive Login Form Using Html Css , you can also watch a video tutorial. I Hope this tutorial will be helpful.
Video Tutorial of Responsive Login Form Using Html Css
You might like this:
- Responsive Image Slider
- How to Create a Social Media Login Form Using Html & Css
- How to Create Resume CV Website Using HTML CSS Bootstrap4
- How create an Online Store Website Using Htm Css JS | Multi Page Website
Responsive Login Form Using Html Css [Source Codes]
To create this Responsive Login Form Using Html Css . First, you need to create Two files, HTML File , and CSS File . After creating these files Just copy the given source code and paste into your text editor and edit it according to your requirement. You can also download the source code files of this Responsive Login Form Using Html Css from the given download button.
# HTML CODE
First, create a Html file (index.html) and paste the given codes in your HTMLfile.
<body>
    <div class="Main-container">
        <div class="container-login">
            <div class="wrap-login">

                <div class="login-pic">
                    <img src="img.png" alt="IMG">
                </div>

                <form class="login-form">
                    <span class="login-form-title">Login</span>

                    <div class="wrap-input">
                        <input type="text" class="input" name="email" placeholder="Email" required>
                        <span class="focus-input"></span>
                        <span class="symbol-input">
                            <i class="fa fa-envelope" aria-hidden="true"></i>
                        </span>
                    </div>
                    <div class="wrap-input">
                        <input type="password" class="input" name="pass" placeholder="Password" required>
                        <span class="focus-input"></span>
                        <span class="symbol-input">
                            <i class="fa fa-lock" aria-hidden="true"></i>
                        </span>
                    </div>

                    <div class="login-form-btn-container">
                        <button class="login-form-btn">Login</button>
                    </div>

                  <div class="text-center p-t-1">
                      <span class="txt1">Forgot</span>
                      <a href="#" class="txt2"> Username / Password ?</a>
                  </div>
                  <div class="text-center p-t-2">
                      <a href="#" class="txt2">Create Your Account <i class="fa fa-long-arrow-right " aria-hidden="true"></i></a>
                  </div>

                </form>

            </div>
        </div>
    </div>

</body>
# CSS CODE
Second, create a CSS file (style.css) and paste the given codes in your CSS file.
@import url('https://fonts.googleapis.com/css2?family=Poppins:wght@400;500;700&display=swap');

/* coding With Nick */

*{
    margin: 0px;
    padding: 0px;
    box-sizing: border-box;
}
body, html{
    height: 100%;
    font-family: 'Poppins',sans-serif;
    font-weight: 400;
}
.Main-container{
    width: 100%;
    margin: 0 auto;
}
.container-login{
    width: 100%;
    min-height: 100vh;
    display: flex;
    flex-wrap: wrap;
    justify-content: center;
    align-items: center;
    padding: 15px;
    background: #9053c7;
    background: linear-gradient(-135deg, #c850c0, #4158d0);
}
.wrap-login{
    width: 960px;
    background: #fff;
    border-radius: 10px;
    overflow: hidden;
    display: flex;
    flex-wrap: wrap;
    justify-content: space-between;
    padding: 177px 130px 33px 95px;
}
.login-pic{
    width: 316px;
}
.login-pic img{
    max-width: 100%;
}
.login-form{
    width: 290px;
}
.login-form-title{
    font-family: 'poppins', sans-serif;
    font-size: 24px;
    color: #333333;
    line-height: 1.2;
    text-align: center;
    font-weight: 700;
    width: 100%;
    display: block;
    padding-bottom: 54px;
}
.wrap-input{
    position: relative;
    width: 100%;
    z-index: 1;
    margin-bottom: 10px;
}
.input{
    font-family: 'Poppins' , sans-serif;
    font-size: 15px;
    font-weight: 500;
    line-height: 1.5;
    color: #666666;
    outline: none;
    border: none;
    display: block;
    width: 100%;
    background: #e6e6e6;
    height: 50px;
    border-radius: 25px;
    padding: 0 30px 0 68px;
}
.focus-input{
    display: block;
    position: absolute;
    border-radius: 25px;
    bottom: 0;
    left: 0;
    z-index: -1;
    width: 100%;
    height: 100%;
    box-shadow: 0px 0px 0px 0px;
    color: rgba(87, 184,70, 0.8);
}
.input:focus + .focus-input{
    animation:  anim-shadow 0.5s ease-in-out forwards;
}
@-webkit-keyframes anim-shadow{
    to {
        box-shadow:  0px 0px 70px 25px ;
        opacity: 0;
    }
}
@keyframes anim-shadow{
    to {
        box-shadow:  0px 0px 70px 25px ;
        opacity: 0;
    }
}

.symbol-input{
    font-size: 15px;
    display: flex;
    align-items: center;
    position: absolute;
    border-radius: 25px;
    bottom: 0;
    left: 0;
    width: 100%;
    height: 100%;
    padding-left: 35px;
    pointer-events: none;
    color: #666666;
    transition: all 0.4s
}
.input:focus + .focus-input + .symbol-input{
    color: #57b846;
    padding-left: 28px;
}

.login-form-btn-container{
    width: 100%;
    display: flex;
    flex-wrap: wrap;
    justify-content: center;
    padding-top: 20px;
}
.login-form-btn{
    font-family:'poppins',sans-serif ;
    font-size: 15px;
    line-height: 1.5;
    color: #fff;
    background: #57b846;
    text-transform: uppercase;
    width: 100%;
    height: 50px;
    border-radius: 25px;
    display: flex;
    justify-content: center;
    align-items: center;
    padding: 0 25px ;
    transition: all 0.4s;
    border: none;

}
.login-form-btn:hover{
    background: #333333;
}
.text-center{
    text-align: center;
}
.txt1{
    font-family: 'poppins';
    font-size: 13px;
    line-height: 1.5;
    color: #666666;
}
.txt2{
    font-family: 'poppins';
    font-size: 13px;
    line-height: 1.5;
    color: #666666;
}
.p-t-1{
    padding-top: 12px;
}
.p-t-2{
    padding-top: 136px;
}

a{
    font-family: 'poppins', sans-serif;
    font-size: 14px;
    line-height: 1.7;
    color: #666666;
    margin: 0px;
    transition: all 0.4s;
    text-decoration: none;
    font-weight: 400;
}
a:focus{
    outline: none !important;
}
a:hover{
    color: #57b846;
}
button{
    outline: none !important;
    border: none;
    background: transparent;
}
button:hover{
    cursor: pointer;
}

/* Responsive */
@media (max-width: 992px){

.wrap-login{
    padding: 177px 90px 33px 85px;
}

.login-pic{
    width: 35%;
}
.login-form{
    width: 50%;
}

}


@media (max-width: 768px){
    .wrap-login{
        padding: 100px 80px 33px 80px;
    }

    .login-pic{
       display: none;
    }
    .login-form{
        width: 100%;
    }
}


@media (max-width: 576px){
    .wrap-login{
        padding: 100px 15px 33px 15px;
    }
}
That’s all, now you’ve successfully Create a Responsive Login Form Using Html Css . If your code doesn’t work or you’ve faced any error And problem’s , please download the source code from the given download button
I Hope this blog will be helpful.
Read More –
- How To Create Responsive Image Gallery Using Html & Css
- Responsive Image Slider | With Manual Button & Auto-play – Html Css Javascript
- How create an Online Store Website Using Htm Css JS | Multi Page Website
- Create A Music Player Using Javascript | Javascript Audio Player
- Responsive Navigation Bar Design using HTML and CSS


