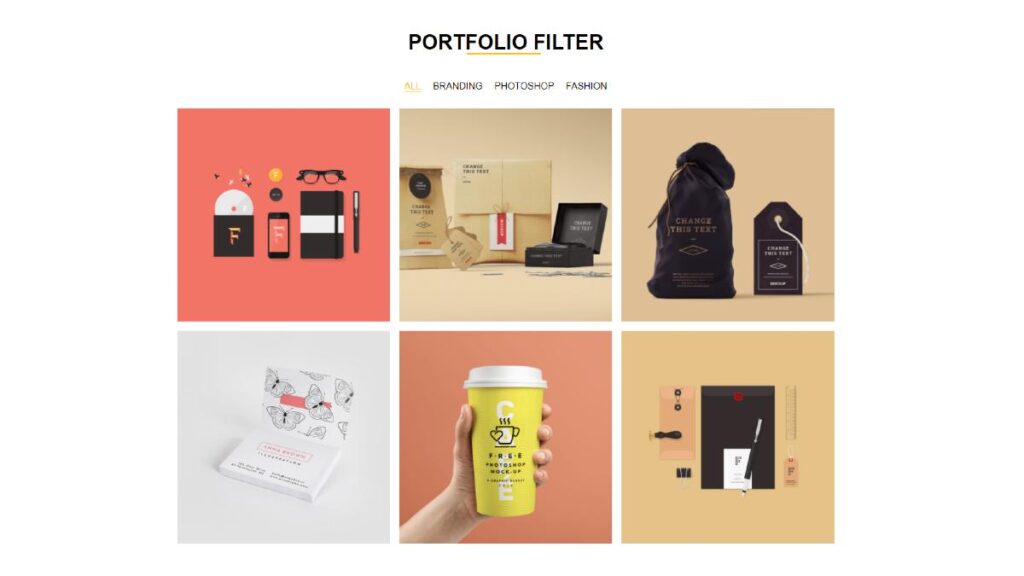
Hey friends, today in this blog you’ll learn How to Create Responsive Navigation Bar using HTML and CSS . Earlier I’ve shared a blog on Portfolio Filter Using Html Css & Javascript . In this blog, I’m going to create a Responsive Navigation bar that is based on pure CSS.
In this program Responsive Navigation Bar, there is a navbar on the top of the page and in this navbar, there is a logo on the left side and some navigation links on the right side. On the PC, these navigation links are aligned in a horizontal line but on mobile devices, these links are aligned vertically.
I used CSS @media property to make this navigationbar responsive for any devices – mobile, tab, & pc. If you’re feeling difficulty understanding what I’m saying then you can watch a full video tutorial of this Responsive Navigation Bar.
Video Tutorial of Responsive Navigation Bar Design
You might like this:
Responsive Navigation Bar [Source Codes]
To create this Responsive Navigation Bar. First, you need to create 2 Files one HTML File and another one is CSS File. After creating these files just paste the following codes in your code editor.
# HTML CODE
First, create an HTML file ( index.html ) and paste the given codes in your HTML file.
<!DOCTYPE html>
<html lang="en">
<head>
  <meta charset="UTF-8">
  <meta http-equiv="X-UA-Compatible" content="IE=edge">
  <meta name="viewport" content="width=device-width, initial-scale=1.0">
  <script src="https://kit.fontawesome.com/e48d166edc.js" crossorigin="anonymous"></script>
  <link rel="stylesheet" href="style.css">
  <title>Responsive Navigation Bar</title>
  <!-- Coding with Nick -->
</head>
<body>
  <div class="BG">
    <nav>
      <input type="checkbox" id="check">
      <label for="check" class="checkbtn">
        <i class="fas fa-bars"></i>
      </label>
      <label class="logo">NICK</label>

      <ul>
        <li><a class="active" href="#">Home</a></li>
        <li><a href="#">Blogs</a></li>
        <li><a href="#">Portfolio</a></li>
        <li><a href="#">About</a></li>
        <li><a href="#">Contact</a></li>
      </ul>
    </nav>

  </div>

</body>
</html>
#CSS CODE
Second, create an CSS file ( style.css ) and paste the given codes in your CSS file.
@import url('https://fonts.googleapis.com/css2?family=Poppins:wght@300;400;500;600;700&display=swap');
*{
  padding: 0;
  margin: 0;
  text-decoration: none;
  list-style: none;
  box-sizing: border-box;
}
body{
  font-family: 'Poppins';
}
.BG{
  background: url(bg1.jpeg) no-repeat;
  background-size: cover;
  background-position: center;
  width: 100%;
  height: 100vh;
}
nav{
  background: #000000;
  height: 80px;
  width: 100%;
}
label.logo{
  font-family: 'Poppins';
  color: white;
  font-size: 35px;
  line-height: 80px;
  padding: 0 100px;
  font-weight: 500;
}
label.logo:hover{
  color: #5eb9ff;
}
nav ul{
  float: right;
  margin-right: 20px;
}
nav ul li {
  display: inline-block;
  line-height: 80px;
  margin: 0 5px;
}
nav ul li a{
  font-family: 'Poppins';
  font-size: 17px;
  font-weight: 500;
  padding: 7px 13px;
  border-radius: 3px;
  text-transform: uppercase;
  color: white;
}
a.active,a:hover{
  color: #5eb9ff;
  transition: .5s;
}
.checkbtn{
  font-size: 30px;
  color: white;
  float: right;
  line-height: 80px;
  margin-right: 40px;
  cursor: pointer;
  display: none;
}
#check{
  display: none ;
}
@media (max-width: 952px){
label.logo{
  font-size: 30px;
  padding-left: 50px;
}
nav ul li a{
  font-size: 16px;
}

}
@media (max-width: 858px){
  .checkbtn{
    display: block;
  }
  ul{
    position: fixed;
    width: 60%;
    height: 100vh;
    background: #000000c9;
    top: 80px;
    left: -100%;
    text-align: center;
    transition: all .5s;
  }
  nav ul li{
    display: block;
    margin: 50px 0;
    line-height: 30px;
  }
  nav ul li a{
    font-size: 20px;
  }

#check:checked ~ ul{
  left: 0;
}
}
That’s all, now you’ve successfully Create a Responsive Navigation Bar Design using HTML and CSS . If your code doesn’t work or you’ve faced any error & problem’s , then please comment down or contact us from the contact page.
I Hope this blog will be helpful.
Read More –


