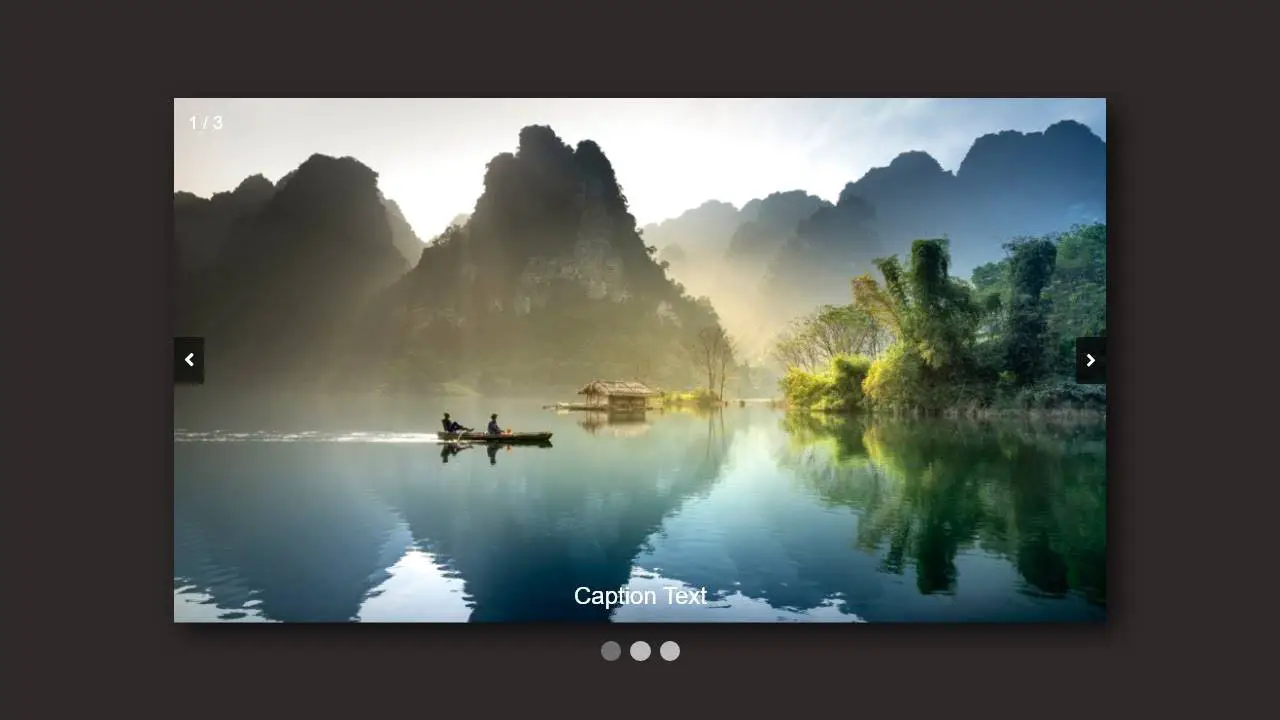
Hello friends, today in this blog you’ll learn How To Create Css Image Hover Effect Using Html Css | Css Image Card Hover Effect . We’ll use Html & Css to create this Image Card Hover Effect . Earlier I’ve shared a blog onImage Cards With Hover Effect Only Using CSS & HTML .
This Css Image Hover Effect Using Html Css Is Completely responsive For All Devices Like Mobile , Laptop , Tablets etc.
If You have any Problem so, I Also Created a full video tutorial on this Css Image Hover Effect Using Html Css Only you can see this tutorial .
Video Tutorial of ” Css Image Hover Effect Using Html Css Only “
You might like this:
- Responsive Image Slider
- Neumorphism Login Form In HTML & CSS | CSS Neumorphism Login Form
- How to Create a Social Media Login Form Using Html & Css
- How To Create Responsive Login Form Using Html Css Only
- How to Create Resume CV Website Using HTML CSS Bootstrap4
Css Image Hover Effect [Source Codes]
To create this Image Card First, you need to create Twoe files, HTML File And CSS File. After creating these files Just copy the given source code and paste into your text editor and edit it according to your requirement. You can also download the source code files of this Css Image Hover Effect Using Html Css from the given download button.
# HTML CODE
First, create a Html file (index.html) and paste the given codes in your CSS file.
<div class="container">
        <div class="section-title">
            <h1>Css Image Hover Effect</h1>
        </div>

        <div class="row">

            <div class="column">

                <div class="effect">
                    <div class="effect-img">
                        <img src="img/1.jpg" alt="">
                    </div>
                    <div class="effect-text">
                        <div class="inner">
                            <h2>This is heading</h2>
                            <p>Lorem ipsum dolor sit amet consectetur, adipisicing elit. Quaerat velit qui quos repellat nulla soluta exceptu</p>
                            <div class="effect-btn">
                                <a href="#" class="btn"><i class="fa fa-eye"></i> Read More</a>
                            </div>
                        </div>
                    </div>
                </div>
            </div>

            <div class="column">
                <div class="effect">
                    <div class="effect-img">
                        <img src="img/2.jpg" alt="">
                    </div>
                    <div class="effect-text">
                        <div class="inner">
                            <h2>This is heading</h2>
                            <p>Lorem ipsum dolor sit amet consectetur, adipisicing elit. Quaerat velit qui quos repellat nulla cum soluta exceptu</p>
                            <div class="effect-btn">
                                <a href="#" class="btn"><i class="fa fa-eye"></i> Read More</a>
                            </div>
                        </div>
                    </div>
                </div>
            </div>

            <div class="column">
                <div class="effect">
                    <div class="effect-img">
                        <img src="img/3.jpg" alt="">
                    </div>
                    <div class="effect-text">
                        <div class="inner">
                            <h2>This is heading</h2>
                            <p>Lorem ipsum dolor sit amet consectetur, adipisicing elit. Quaerat velit qui quos repellat nulla cum soluta exceptu</p>
                            <div class="effect-btn">
                                <a href="#" class="btn"><i class="fa fa-eye"></i> Read More</a>
                            </div>
                        </div>
                    </div>
                </div>
            </div>

        </div>
    </div>
# CSS CODE
Second, you create anCSS file(style.css) and paste the given codes in your CSS file.
/* Coding With Nick */
*,
*::before,
*::after{
    box-sizing: border-box;
}
html{
    line-height: 1.15;
}
body{
    font-family: 'roboto', sans-serif;
    color: #454545;
    font-weight: 400;
    background: #ffffff;
}
a{
    color: #333333;
    font-weight: 400;
    outline: none;
    text-decoration: none;
    transition: 0.5s;
}
.container{
    width: 100%;
    padding-right:15px ;
    padding-left: 15px;
    margin-right: auto;
    margin-left: auto;
}
.row{
    display: flex;
    flex-wrap: wrap;
    margin-right: -15px;
    margin-left: -15px;
}
.column{
    position: relative;
    width: 100%;
    padding-right: 15px;
    padding-left: 15px;
    flex: 0 0 100%;
    max-width: 100%;
}
.section-title{
    position: relative;
    width: 100%;
    text-align: center;
    padding: 45px 0 30px 0;
}
.section-title::after{
    position: absolute;
    content: "";
    width: 100%;
    height: 1px;
    left: 0;
    background: #eeeeee;
}
.effect{
    position: relative;
    margin-bottom: 30px;
    overflow: hidden;
}
.effect .effect-img{
    font-size: 0;
    overflow: hidden;
}
.effect .effect-img img{
    width: 100%;
    height: auto;
    transition: all .3s;
}
.effect:hover .effect-img img{
    transform: scale(1.2);
}
.effect .effect-text{
    position: absolute;
    top: 15px;
    right: 15px;
    bottom: 15px;
    left: 15px;
    display: flex;
    align-items: center;
    justify-content: center;
    text-align: center;
    background: rgba(0, 0, 0, .5);
    overflow: hidden;
    transition: all .3s ease-in;
    opacity: 0;
}
.effect .effect-text .inner{
    position: absolute;
    padding: 15px;
    z-index: 1;
}
.effect .effect-text:before,
.effect .effect-text:after{
    position: absolute;
    display: block;
    width: 100%;
    height: 0;
    content: '';
}
.effect .effect-text:before{
    border-top: 3px solid #ffffff;
    border-right: 3px solid #ffffff;
    left: -100%;
    top: 0;
}
.effect .effect-text:after{
    border-bottom: 3px solid #ffffff;
    border-left: 3px solid #ffffff;
    left: 100%;
    bottom: 0;
}
.effect:hover .effect-text{
    opacity: 1;
}
.effect:hover .effect-text:after,
.effect:hover .effect-text:before{
    animation-delay: .1s;
    animation-duration: .5s;
    animation-iteration-count: 1;
    animation-timing-function: ease-in-out;
    animation-fill-mode: forwards;
}
.effect:hover .effect-text:after{
    animation-name: left-up;
}
.effect:hover .effect-text:before{
    animation-name: right-dn;
}
@-webkit-keyframes left-up {
    0% {
        left: 100%;
        height: 0;
    }
    50% {
        left: 0;
        height: 0;
    }
    100% {
        height: 100%;
        left: 0;
    }
}
@-webkit-keyframes right-dn {
    0% {
        left: -100%;
        height: 0;
    }
    50% {
        left: 0;
        height: 0;
    }
    100% {
        height: 100%;
        left: 0;
    }
}
.effect .effect-text h2{
    height: 45px;
    color: #ffffff;
    font-size: 25px;
    margin: 0;
}
.effect .effect-text p{
    color: #ffffff;
    font-size: 16px;
    margin-bottom: 20px;
}
.effect .effect-btn .btn{
    display: inline-block;
    height: 35px;
    padding: 7px 15px;
    color: #333333;
    background: #ffffff;
}
@media (min-width:576px){
    .container{
        max-width: 540px;
    }
    .column{
        flex: 0 0 100%;
        max-width: 100%;
    }
}
@media (min-width: 768px){
    .container{
        max-width: 720px;
    }
    .column{
        flex: 0 0 50%;
        max-width: 50%;
    }
}
@media (min-width:992px){
    .container{
        max-width: 960px;
    }
    .column{
        flex: 0 0 33.333333%;
        max-width: 33.333333%;
    }
}
@media (min-width:1200px){
    .container{
        max-width: 1140px;
    }
}
That’s all, now you’ve successfully created a Css Image Hover Effect Using Html Css . If your code doesn’t work or you’ve faced any error And problem’s , please download the source code from the given download button. It’s free and a .zip file will be downloaded then you’ve extract it.
Read More –


